
Estimate Only
Approximate pricing
Customized Repair Estimate after on-site inspection reflects your scope.

A vapor barrier alone doesn't waterproof a basement. It's the last component in a working system. Serving Nebraska, Iowa, Kansas, and Missouri since 1994, Epp Foundation Repair installs polyethylene wall vapor barriers as the final layer of an interior waterproofing system, routing minor wall seepage and condensation downward into the drain channel and out through the sump.

A local specialist will inspect your foundation, walk you through the findings, and send a clear estimate, no cost, no pressure.
Diagnosis First
A basement wall vapor barrier is polyethylene sheeting fastened from the sill plate to the floor, directing minor wall seepage and condensation down into the drain channel instead of into the room. Epp Foundation Repair installs it as the final piece of an interior waterproofing system, never on a wall that is still actively leaking without drainage in place.
In Depth
Everything a Midwest homeowner should know about this repair, from the specialists who do it every day.
And the order matters. A vapor barrier installed on a wet basement wall without drainage and a sump pump traps water behind the poly, and a trapped water film against gypsum, framing, or insulation can grow mold. The vapor barrier is the third component in a three-part system, not a standalone fix. Epp Foundation Repair installs vapor barriers across Nebraska, Iowa, Kansas, and Missouri only after the drainage path and pump capacity to handle the water it will direct have been verified or installed. The barrier is mechanically fastened (not glued, not taped in alone) to the basement wall at the sill plate and at the floor, with sealed lap seams between sheets and a designed drainage termination at the cove joint.
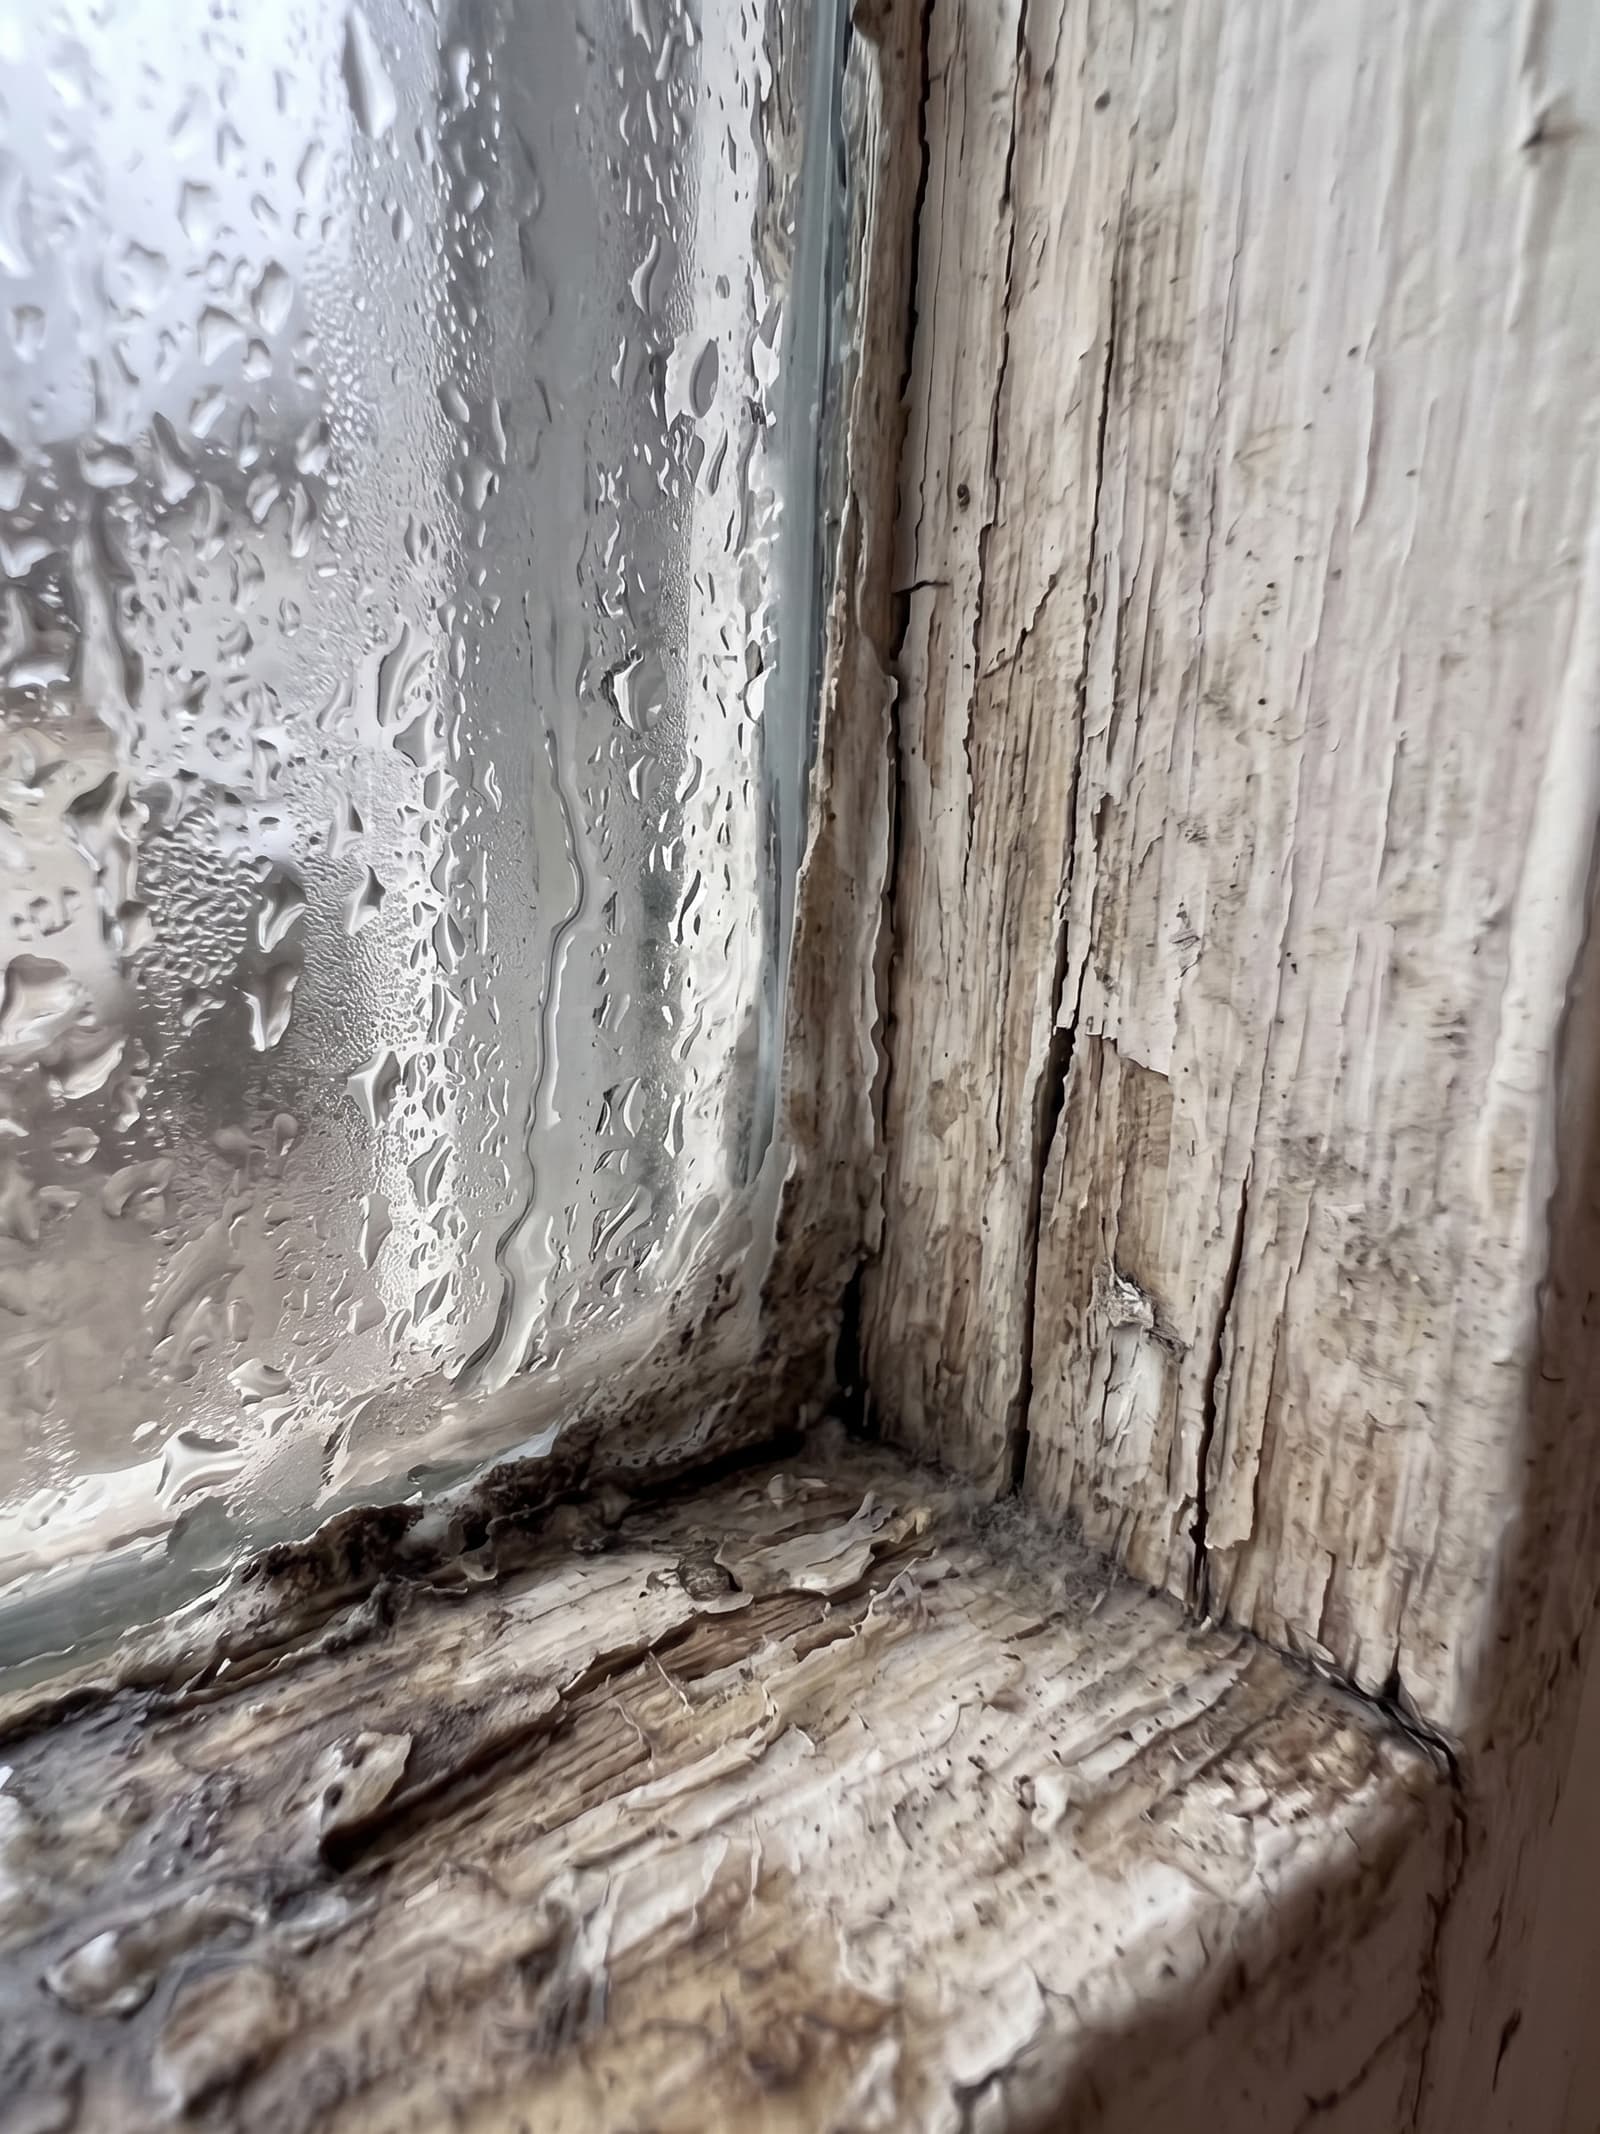
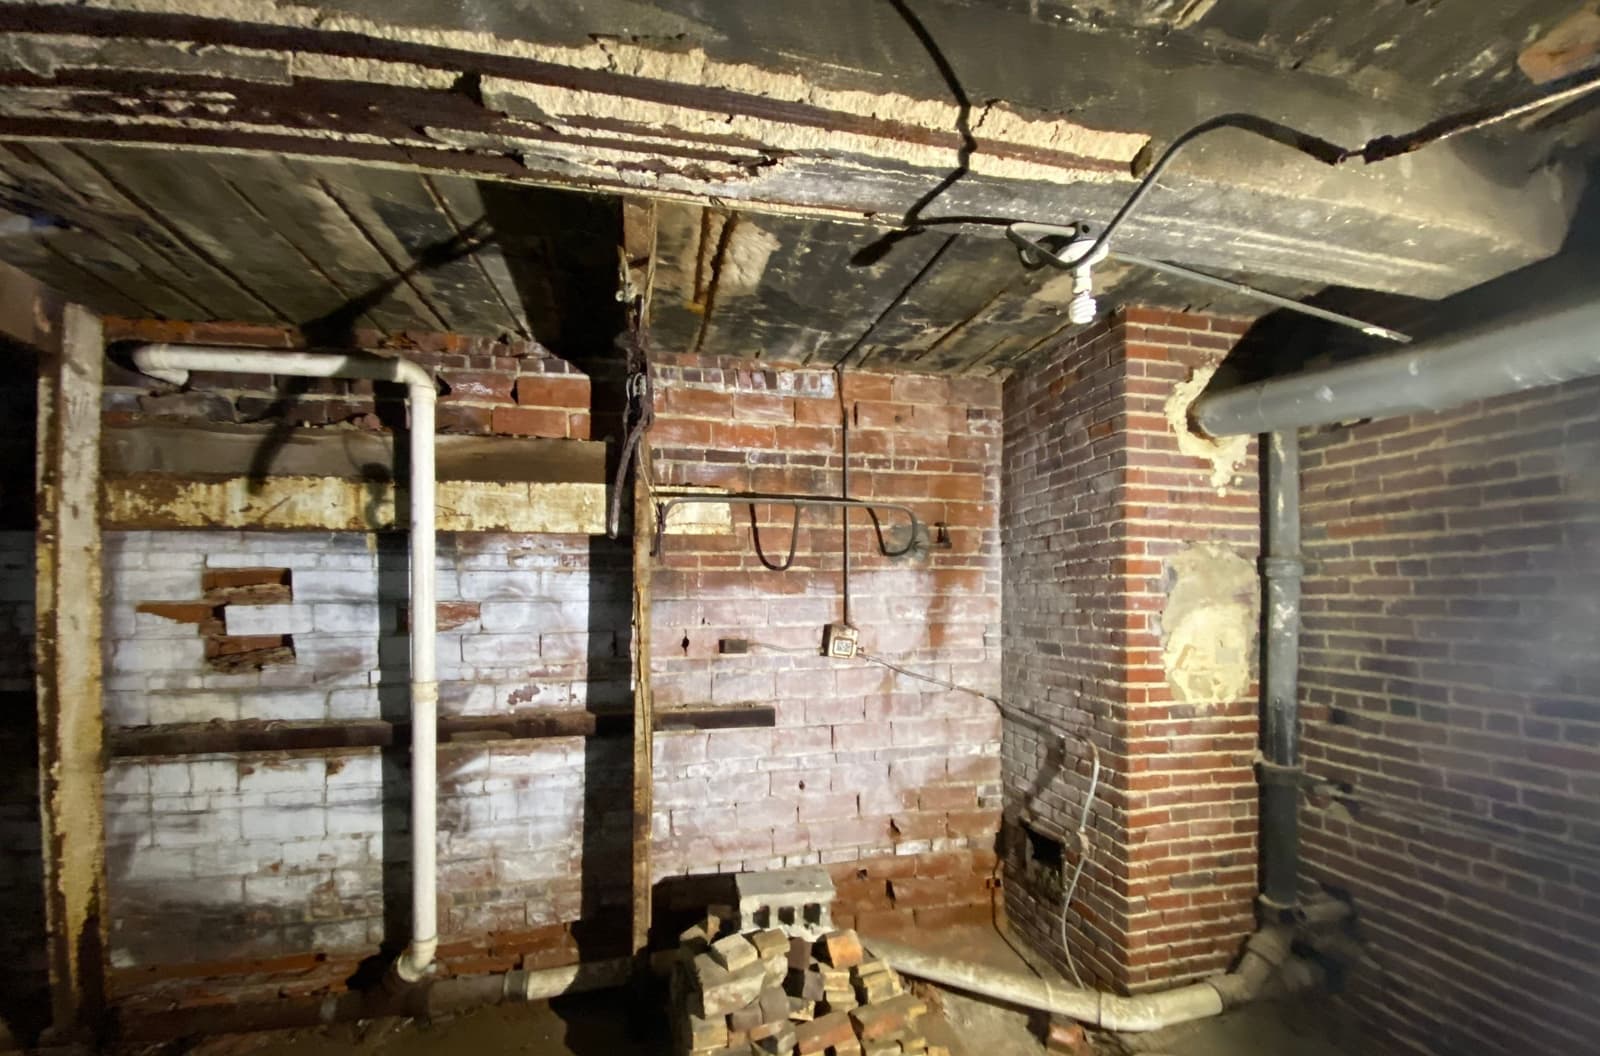
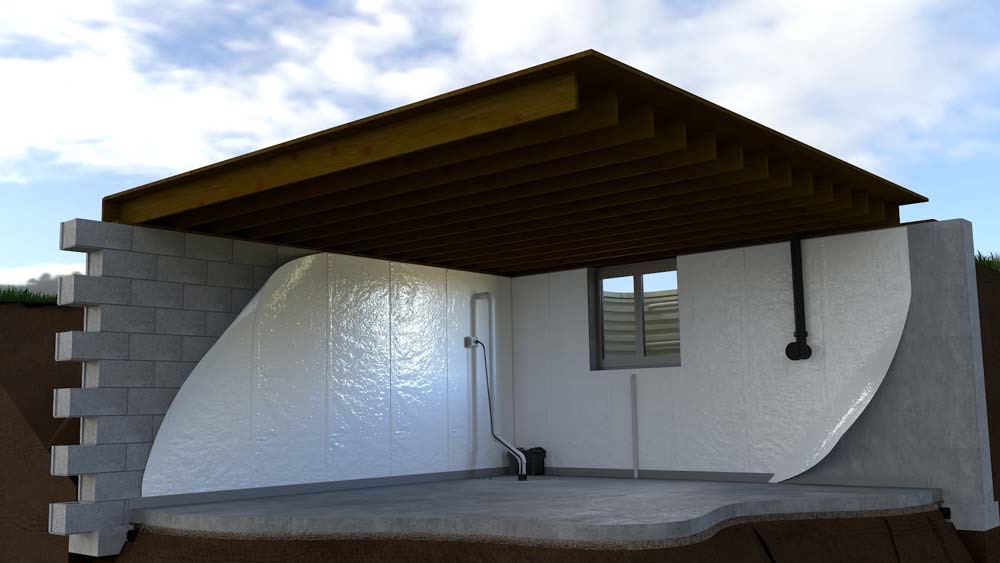
A basement wall vapor barrier is a polyethylene sheet that hangs against the interior basement wall, extending from the sill plate down to the slab. The barrier intercepts two things: minor wall seepage from hydrostatic pressure pushing moisture through poured concrete or block, and condensation that forms on a cold foundation wall when warm humid basement air contacts it. Both forms of moisture run down the back side of the barrier (the wall side) and terminate at the cove joint, where they drop into the interior drain tile system and route to the sump pump. This is different from a crawl-space vapor barrier. A crawl-space vapor barrier is laid on the dirt floor of the crawl, sealed at seams and at the wall transition, with the goal of stopping ground moisture from evaporating into the crawl. That's covered on the crawl-space encapsulation page. A basement wall vapor barrier is a vertical installation against finished concrete or block, with a drainage termination, not a sealed-to-floor encapsulation. Epp uses two grades of reinforced polyethylene. Standard reinforced polyethylene is the standard wall vapor barrier, specified for typical finished basement projects where the barrier is concealed behind framing and drywall. Heavier reinforced polyethylene is the upgrade, used in unfinished basements where the barrier remains exposed, in finished basements with heavier loading against the wall (storage zones, mechanical room walls), and in basements with documented heavy condensation.
Three clear applications, and one clear non-application. Paired with interior drain tile and sump installation on a finishing project. This is most of Epp's vapor barrier work. A homeowner finishing the basement asks for assurance that any future wall seepage won't end up in the drywall. Epp installs interior drain tile at the cove, a sump pump sized to the contributing area, and a wall vapor barrier from sill plate to slab to direct anything that comes through the wall into the drain. Standalone on a basement with minor seepage but no major water intrusion. This is a small percentage of Epp's vapor barrier work: an unfinished basement with a slightly damp wall section that doesn't justify full interior waterproofing yet. The barrier directs the minor seepage to the existing cove joint where the homeowner has confirmed adequate floor drainage. Epp will install standalone only after confirming the drainage destination works. Condensation control in unfinished basements with high humidity. Less common. Typically the right fix is a dehumidifier and an HVAC modification, not a vapor barrier. But in basements where summer condensation forms heavy enough to puddle at the floor, a wall vapor barrier shifts the condensation point to the back of the barrier and routes it downward to the cove drain.
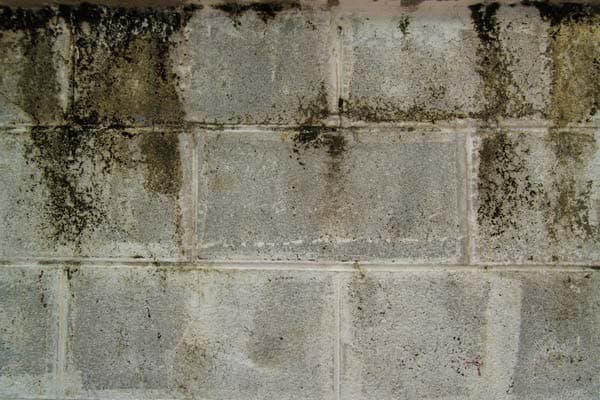
The single most important rule on this page. Do not install a wall vapor barrier on a wet basement wall without drainage. The barrier traps the water behind the poly. The wall stays wet. Mold colonizes the back side of the barrier, depending on temperature, humidity, and the moisture supply rate, and over time the framing and drywall in front of the barrier (if any) can show mold staining. Epp Foundation Repair will not install a vapor barrier on a wall that's actively leaking until the leak source has been addressed, either through crack repair, interior drainage, or exterior waterproofing. If the diagnosis says the wall needs drainage first, Epp installs the drainage first. "Vapor barrier without drainage on a wet wall" is one of the clearest wrong-scope scenarios in the trade. ## How Epp Installs It
A full-perimeter wall vapor barrier installation paired with interior drainage follows this sequence after the drainage and sump are in place. Wall preparation. Concrete or block walls are inspected for active leaks, efflorescence, and visible cracking. Any active crack or leak source is repaired before barrier installation, typically with polyurethane injection on a leaking crack, followed by epoxy for structural bond. Wall surface is cleared of loose debris, paint chips, and efflorescence at fastener lines. Layout and cut. Polyethylene rolls are cut to wall height plus extra at the top (for sill plate seal) and at the bottom (for drainage termination at cove joint). Sheets overlap at vertical seams. Inside corners get a continuous wrap; outside corners (rare in basements) get a sealed fold. Top fastening. Top edge of the barrier is mechanically fastened to the sill plate with a PVC or stainless vapor-barrier fastening strip, pinned with masonry fasteners or framing screws into the sill plate. The strip captures the barrier's top edge and the resulting termination handles vapor pressure from the rim joist area above. Bottom termination at the cove drain. Bottom edge of the barrier extends into the interior drain channel at the wall-floor joint. The barrier directs water and vapor down into the drain rather than out onto the slab. This termination is the single most important detail on the installation. A barrier that ends at the slab surface dumps water onto the slab; a barrier that ends in the drain channel dumps water into the drain. Seam sealing. Vertical sheet seams are taped with foil-backed vapor barrier tape, laid over the overlap. Tape needs clean, dry polyethylene and warm conditions; colder installations use butyl-based seam sealant instead. Inside corner wraps are sealed with seam tape at both edges. Penetration sealing. Every wall penetration (electrical, plumbing, mechanical) gets a flange or gasket cut into the barrier and sealed with butyl. Penetrations are the most common failure point in a wall vapor barrier installation; Epp documents each one on the Customized Repair Estimate.
Eastern Nebraska and western Iowa basements show seasonal wall seepage tied to spring snowmelt and heavy rain events on loess soil over glacial till. The perched water table can sit below grade through spring, applying hydrostatic pressure against the lower basement wall. A vapor barrier installed without addressing that hydrostatic load can fail. Kansas and Missouri basements show wall seepage tied to expansive clay swelling against block and poured walls. Expansive clay swells when wet and applies lateral pressure that can open hairline cracks in the wall, then channels water through those cracks. A vapor barrier here works only after the crack repair is complete. Across the territory, repeated freeze-thaw cycles each winter heave shallow soil and can shift basement walls. Vapor barrier seams are designed to absorb that movement without tearing, which is why mechanical fastening at fixed points (sill plate, cove drain) matters more than adhesive bonding.
Epp installs the wall vapor barrier and the interior drainage and sump system that makes the barrier work. Three adjacent scopes Epp does not perform. Framing and drywall in front of the barrier. That's general contractor or basement finishing scope. Epp's barrier installation leaves a clean wall ready for the finish trade. HVAC modifications for humidity control. Supplemental dehumidification, supply register relocation, or basement HVAC zone changes are mechanical contractor scope; Epp notes humidity concerns on the Customized Repair Estimate. Vapor barrier on crawl-space dirt floors. That's crawl-space encapsulation scope, covered on the crawl-space repair pages, and uses different materials and detailing.
Customized Repair Estimate after on-site inspection reflects your scope. Epp Foundation Repair is BBB A+ accredited and a BBB Integrity Award winner. Every vapor barrier inspection ends with a Customized Repair Estimate that documents the drainage destination and pump capacity, because installing a vapor barrier without verifying both can create a mold problem the homeowner didn't have before.
Which Solution Is Right?
| Method | Fits when | Not a fit when | Warranty |
|---|---|---|---|
| Standard reinforced polyethylene | Typical finished basement projects, where the barrier will be concealed behind framing and drywall. | The barrier will remain exposed, or the wall carries heavier loading or documented heavy condensation. | Ask about the warranty that applies to your project |
| Heavier reinforced polyethylene | Unfinished basements where the barrier stays exposed, basements with heavier loading against the wall, or documented heavy condensation. | A typical finished basement project, where the standard barrier is concealed behind framing and is enough. | Ask about the warranty that applies to your project |
| Vapor barrier as part of a full system | Installed together with drain tile and a sump pump with pit, as one complete system. | Installed as a standalone barrier without both drain tile and a sump pump also in place. | Lifetime of the structure, full system with drain tile, vapor barrier, and sump pump with pit installed together |
Warranty terms above are the headline coverage and its governing condition. Full terms, exclusions, and owner responsibilities for every method are on Epp's warranty terms page.
Each method is matched to a specific failure mode and soil profile. Browse the toolkit we draw from when diagnosing your home.
Epp Foundation Repair installs basement vapor barriers as part of a complete waterproofing plan across Nebraska, Iowa, Kansas, and Missouri, paired with drainage rather than sold on its own.
Epp Foundation Repair has installed sub-slab perimeter drains and sump systems across Nebraska, Iowa, Kansas, and Missouri since 1994, and it is the default basement waterproofing solution in this region.
Cast-iron or plastic housing, pit size, and discharge setup all change how long a crawl space sump pump lasts. Epp Foundation Repair has installed and serviced them across Nebraska, Iowa, Kansas, and Missouri since 1994.
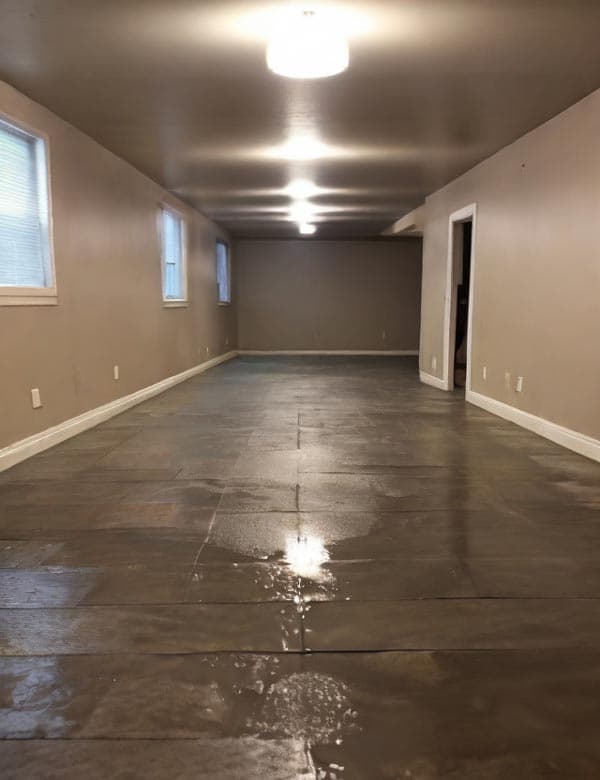
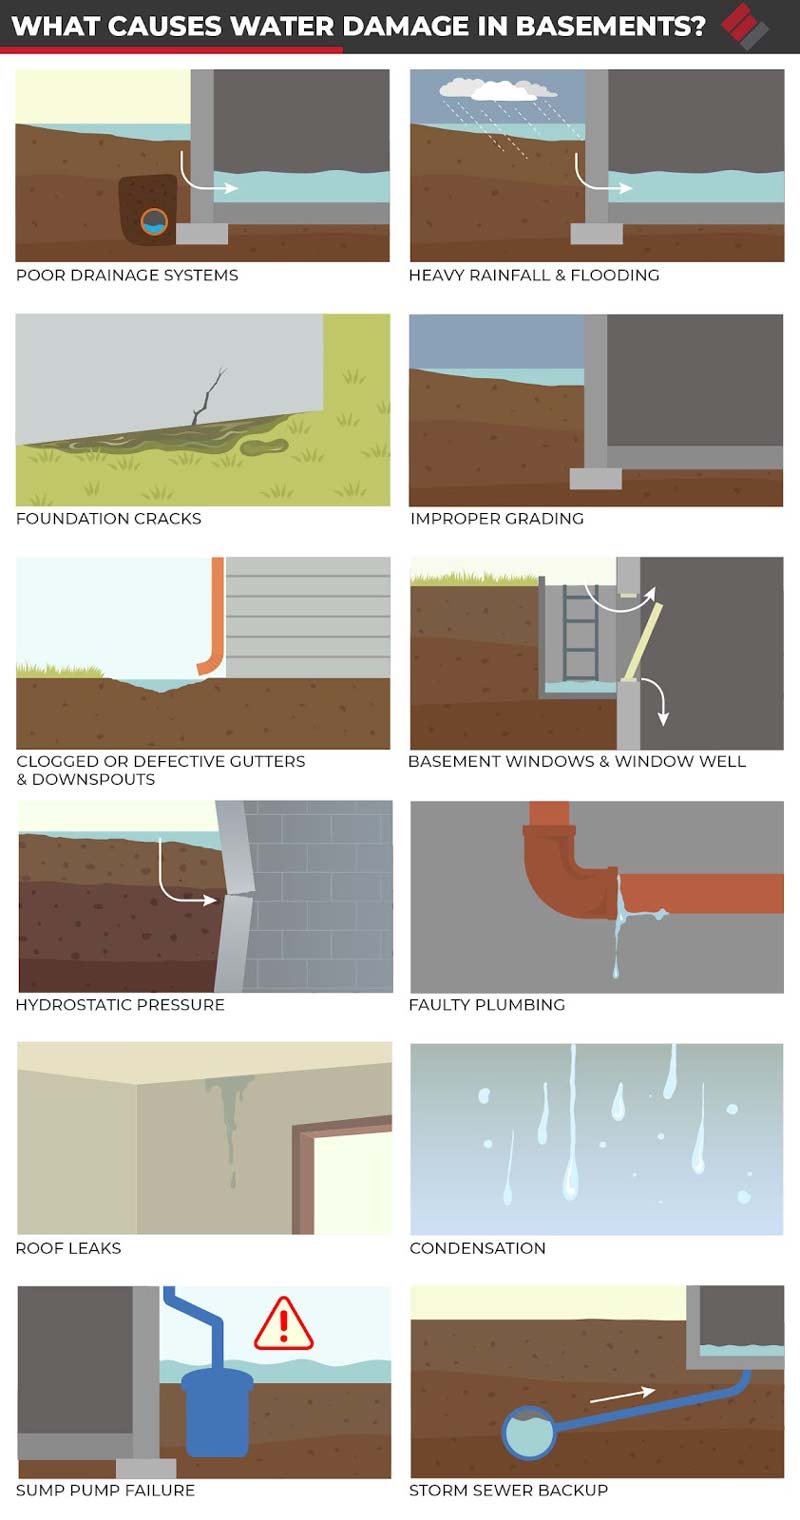
Rain and melting snow soak into the soil around a basement. When that water cannot drain away, it can press against the walls and floor and find a way in through cracks and joints.
Based on NOAA 1991 to 2020 climate normals for Lincoln Municipal Airport and Omaha Eppley Airfield.
Based on USDA soil survey data for Lancaster County (Lincoln) and Douglas County (Omaha), clay is the main soil type in both counties. The survey rates Lancaster County high and Douglas County moderate for shrink swell. Clay can swell when it gets wet and shrink as it dries, so a slab or foundation on clay can move up and down with the seasons. The soils that cover the most ground in Lancaster County are Wymore and Aksarben, and in Douglas County they are Contrary and Marshall.
Loess, the wind deposited silt common in eastern Nebraska and western Iowa, can lose strength and settle when it gets wet. Water can reach it from runoff, a plumbing leak or a downspout that empties next to the house.
In Lincoln and Omaha, soil near the surface can freeze and thaw many times between fall and spring. Each city's building code sets a frost line depth, which is the minimum depth below finished grade for a footing. It is 36 inches in Lincoln and 42 inches in Omaha. Supports that sit above that depth, such as some porches, stoops and chimney footings, can move as the ground freezes and thaws.
Horizontal cracks in a basement wall are more often linked to pressure from the soil outside the wall than to settlement. Wet soil pushes harder against a wall than dry soil, and soil that freezes against the wall can add to that pressure.
Climate: NOAA U.S. Climate Normals 1991 to 2020, LINCOLN MUNI AP (USW00014939) and OMAHA EPPLEY AIRFIELD (USW00014942), retrieved September 30, 2026. Soil: USDA NRCS Soil Data Access (SSURGO), county survey for Lancaster County and Douglas County. Frost line depth: Lincoln Municipal Code 20.12.140 and Omaha Municipal Code Sec. 43-127.
These are the basement waterproofing problem signs Epp Foundation Repair diagnoses most often. Each one links to what causes it and how it is repaired.
Our specialists evaluate the underlying cause before recommending any work. Inspections are at no cost and there's no obligation to proceed.
"A vapor barrier without drainage on a wet wall is the most expensive mold lab you'll ever pay for. I've cut into walls fifteen months after bare poly went up on weeping block, and what you find behind that poly is a science experiment. We don't do it. If the wall needs drainage first, we install drainage first."

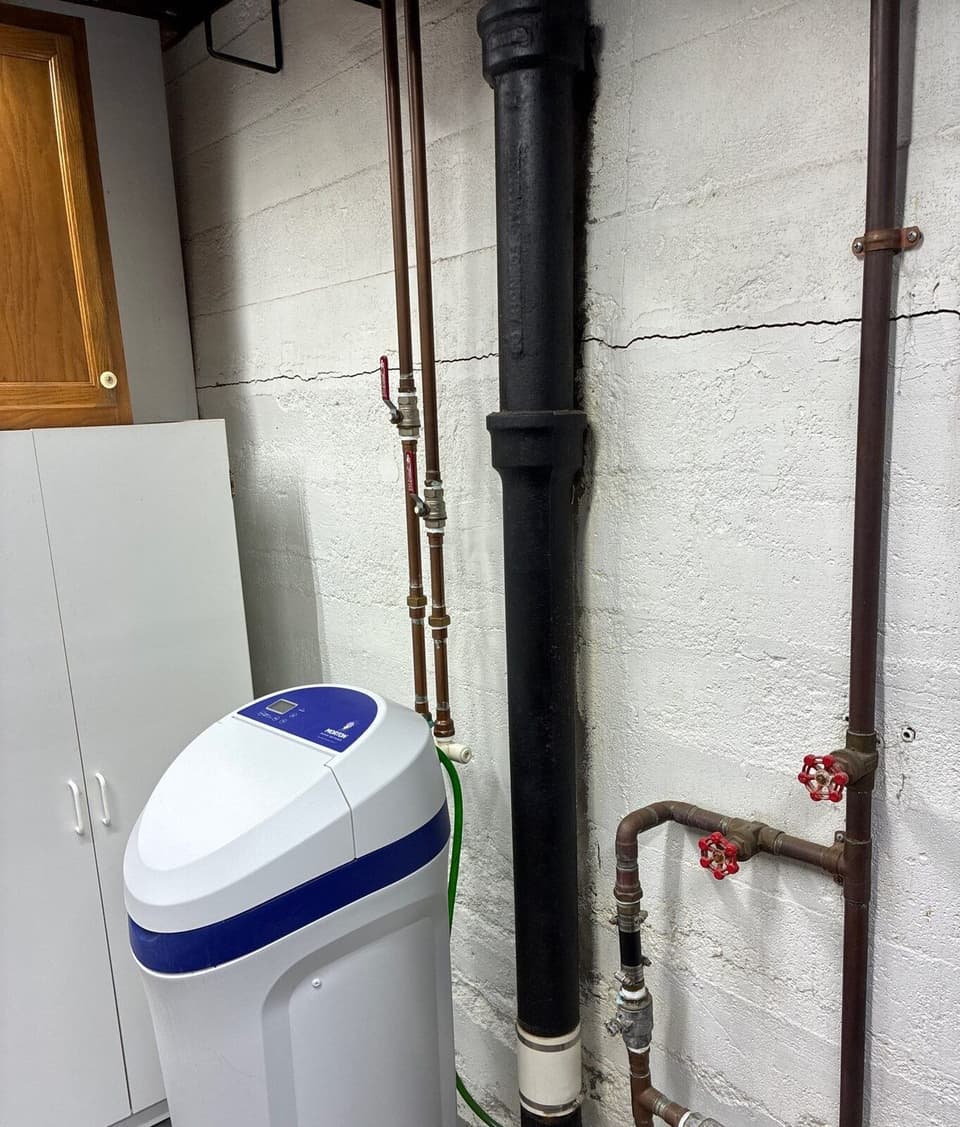
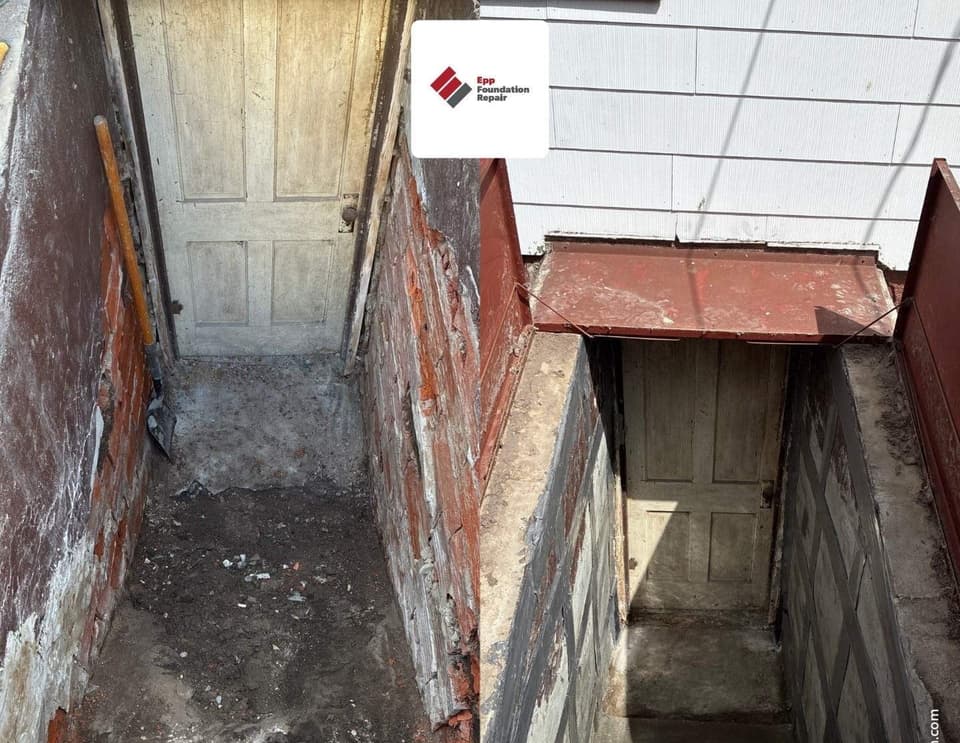
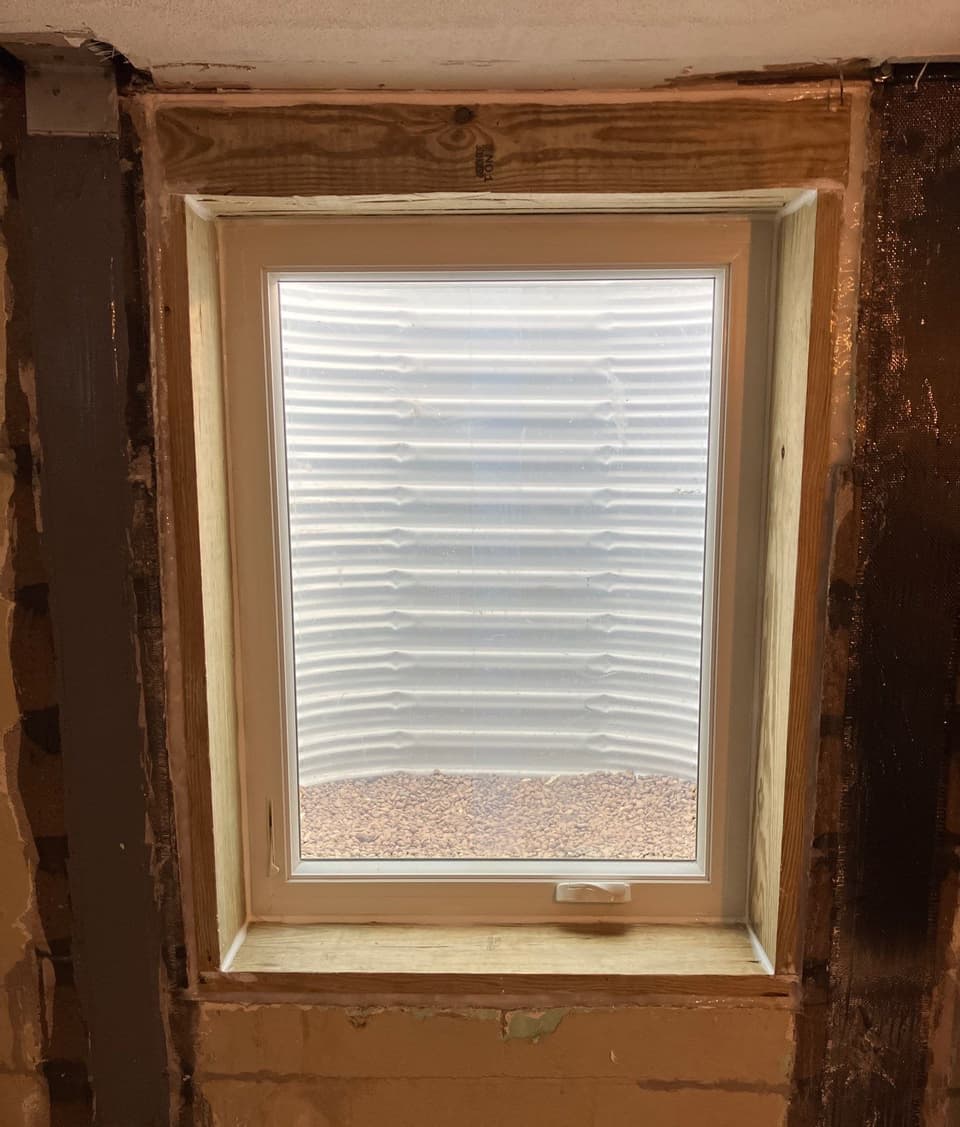
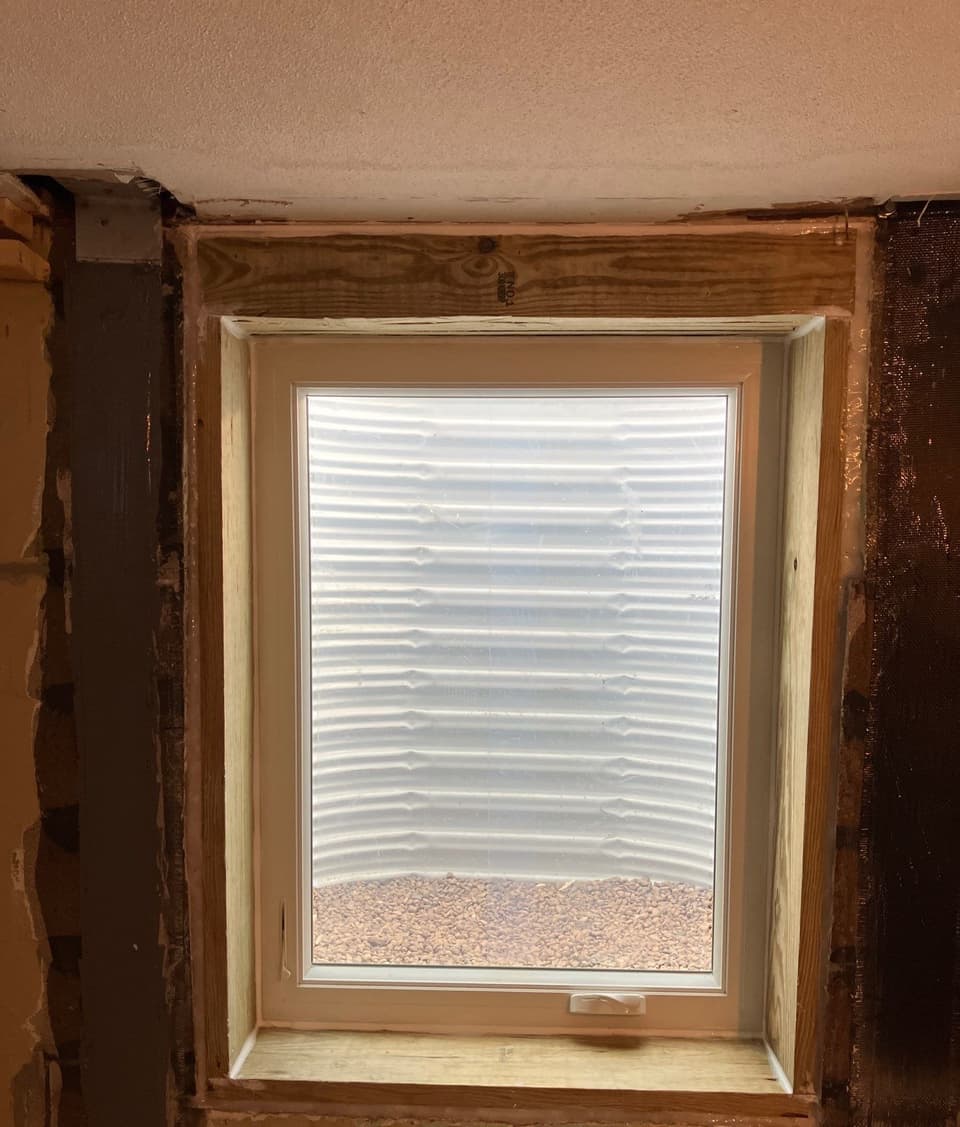
Completed work photographed on real job sites across Nebraska, Iowa, Kansas, and Missouri.
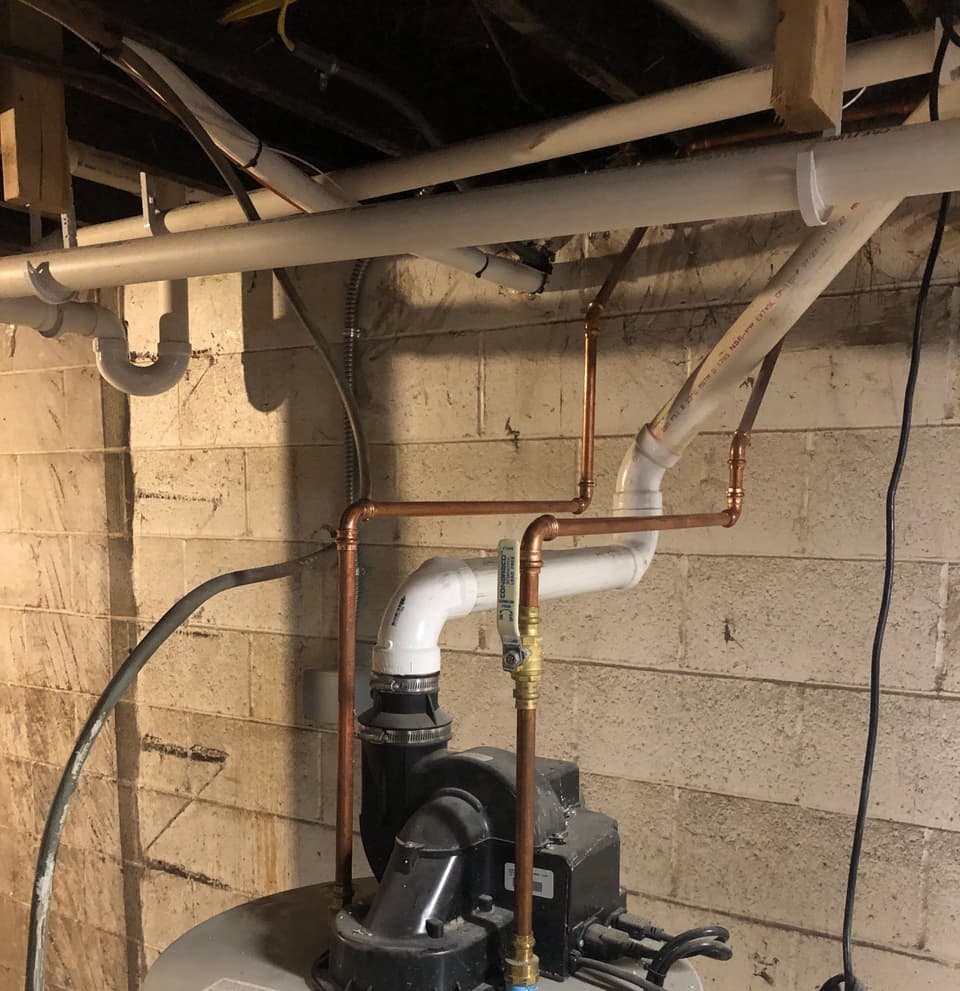
Epp Foundation Repair is locally owned and operated, with crews dedicated exclusively to foundation, basement, and concrete work across the Midwest.
Foundation repair, waterproofing, and concrete leveling are our entire focus, not a sideline.
Three decades of experience with Midwest soils, basements, and weather conditions.
Recognized by the Better Business Bureau for integrity and ethical business practices.
Many of our repairs carry a written Epp warranty. The warranty page lists every covered repair and its terms.
Don't see your question here? Our team is happy to help. Reach out anytime.
Every home is different. What a repair costs depends on the cause, the scope, and access. A free on-site inspection produces a Customized Repair Estimate that reflects your home, not a typical range.
Customized Repair Estimate after on-site inspection reflects your scope.
Do not install a wall vapor barrier on a wet basement wall without drainage in place. The barrier traps water behind the poly and mold can colonize the back side. If the wall is actively leaking, Epp fixes the leak source first (crack injection, interior drainage, or exterior waterproofing as the diagnosis dictates), then installs the vapor barrier. Don't install a vapor barrier in a crawl space. That's a different product and detail set, covered on the crawl-space encapsulation page. And don't install a vapor barrier as a substitute for a dehumidifier on a humidity-only problem. The right fix is HVAC or supplemental dehumidification, not poly on the wall.
Epp Foundation Repair holds BBB A+ accreditation and is a BBB Integrity Award winner.
Related to what you are reading. Our team covers the same ground on camera.
Every basement waterproofing method we install. Sequenced so the soil profile and failure mode determine the fix.
 01
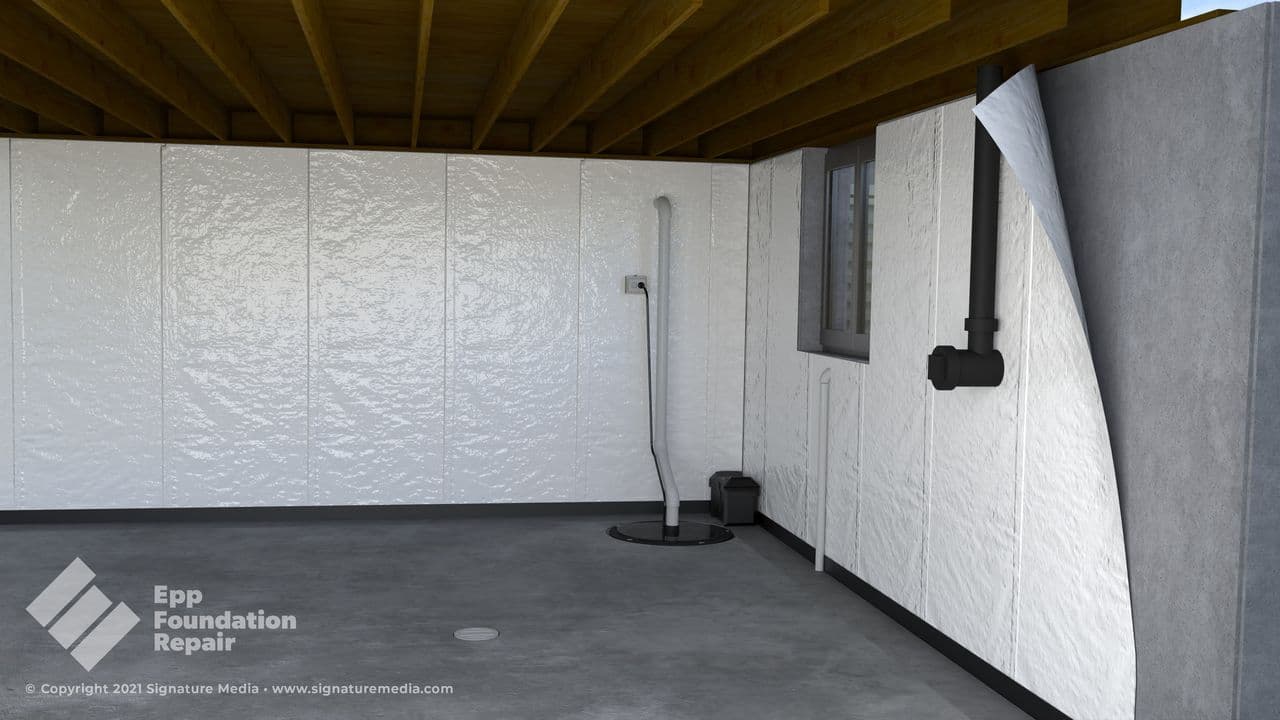
01 Interior basement waterproofing manages water that has already reached your foundation. Perimeter drain tile, sump pump, and wall vapor barrier capture and discharge hydrostatic seepage rather than excavating outside. Epp Foundation Repair installs full-perimeter interior systems across NE, IA, KS, and MO when exterior excavation is impractical or unnecessary.
Learn more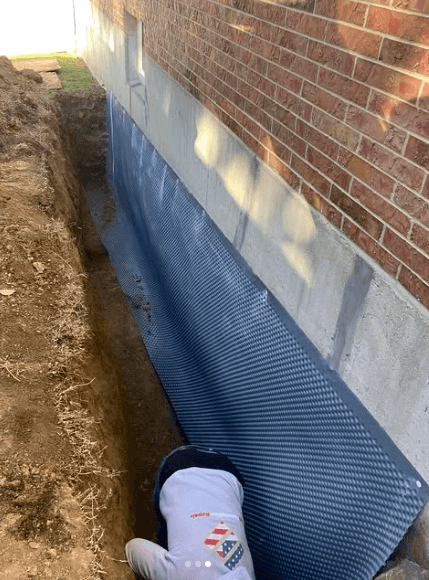 02
02 Exterior basement waterproofing excavates the affected section of the foundation, applies an elastomeric membrane to the wall face, and installs drain tile in proper drainage stone. It is the only method that prevents water from reaching the wall at all. Epp Foundation Repair targets exterior waterproofing to the specific wall sections that need it across NE, IA, KS, and MO, typically as a last resort where an interior system will not work.
Learn more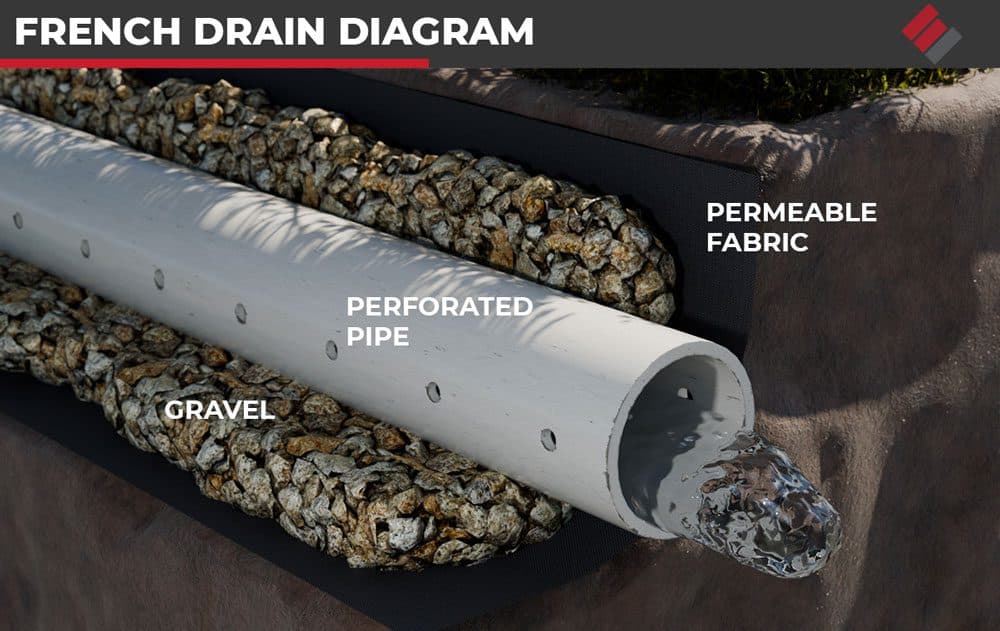 03
03 Exterior French drain installation intercepts groundwater and surface runoff in the yard before it reaches the foundation. It uses perforated pipe set in washed gravel, sloped to daylight or a discharge point, and wrapped in filter fabric to prevent soil clogging. Epp Foundation Repair installs yard-level French drains across NE, IA, KS, and MO on lots where downspout runoff, neighbor-property drainage, or chronic wet zones are loading water against the foundation.
Learn more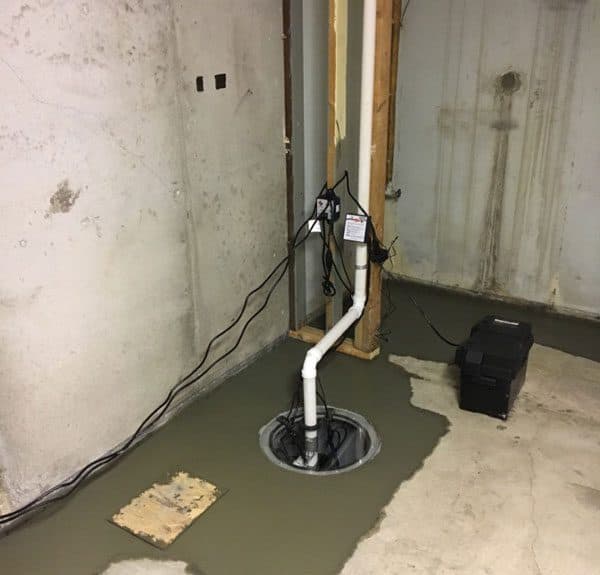 04
04 Sump pump installation captures basement water in a sealed pit, lifts it through a check-valve discharge line, and moves it 6 to 10 feet from the foundation. It is the active end of every interior basement waterproofing system. Epp Foundation Repair installs new pits and pumps and replaces failed pumps in existing basins across NE, IA, KS, and MO, with cast-iron submersible primaries and discharge configured to local code.
Learn more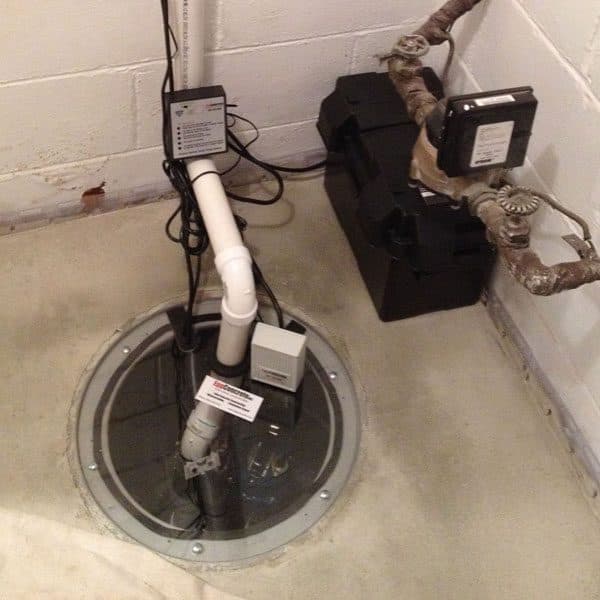 05
05 Backup sump pump installation puts a second pump in the basin that runs when the primary fails. Battery-backup is standard across the territory, water-powered is occasionally appropriate where municipal water pressure and code permit. Epp Foundation Repair installs and tests backup systems across NE, IA, KS, and MO because spring storms in this region routinely produce heavy rain and power outages in the same event, exactly when the primary pump is most needed.
Learn more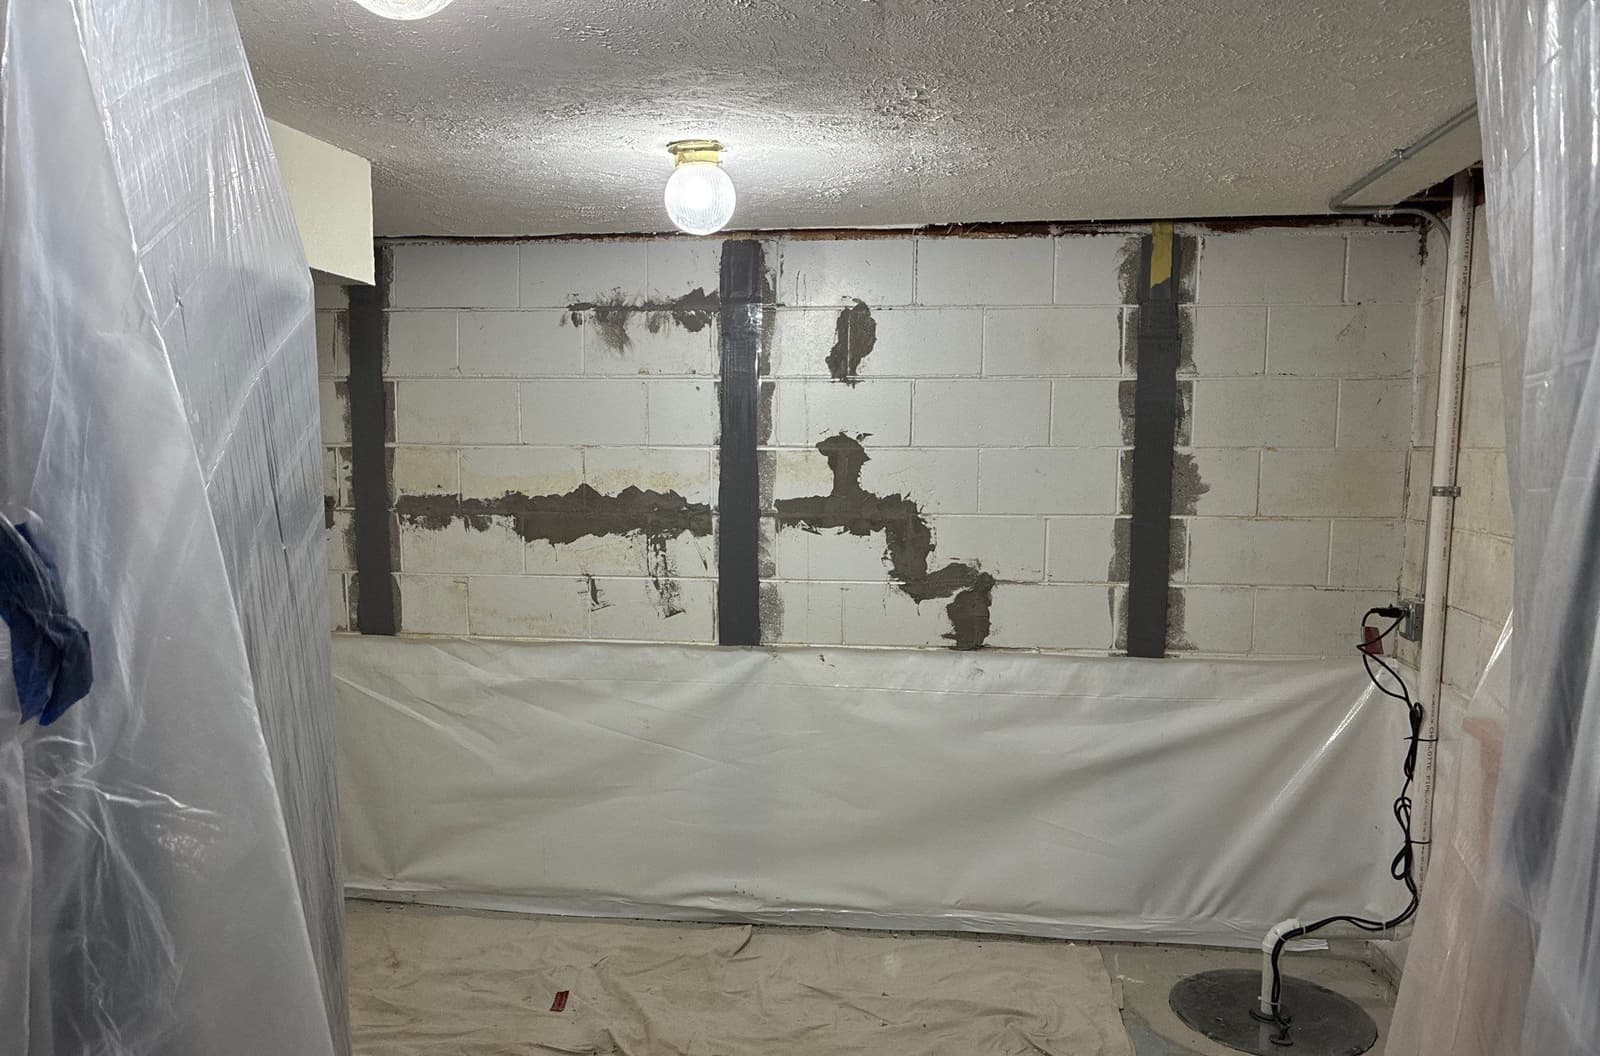 06
06 Targeted basement wall crack repair from Epp Foundation Repair. Diagnosis with a crack monitor, sequential polyurethane-then-epoxy injection on stable leaking cracks, and carbon fiber reinforcement on active block walls. Serving NE, IA, KS, and MO since 1994. The right repair when the leak is isolated to a crack or two; the wrong repair when the wall has systemic seepage.
Learn moreLocal crews based in five regional offices, dispatched daily across four states. If your town isn't listed, call us: we likely serve your area.
A straightforward path from initial inspection to completed repairs.
Before any vapor barrier work begins, Epp confirms the drainage destination at the cove joint is functional: either existing interior drain tile with adequate sump capacity, or new drainage installed as part of the scope. A vapor barrier without verified drainage can become a mold environment.
Wall surface cleared of loose debris, paint chips, and efflorescence at fastener lines. Polyethylene rolls cut to wall height plus extra at the top (for sill plate seal) and at the bottom (for drainage termination at the cove joint). Sheets staged to overlap at vertical seams.
Top edge of the barrier is mechanically fastened to the sill plate with a PVC or stainless vapor-barrier strip, pinned with masonry fasteners or framing screws. The strip captures the barrier's top edge so vapor pressure from the rim joist area above is contained at a fixed mechanical termination.
A 4.9-star average across Google, with verified reviews from homeowners throughout Nebraska, Iowa, Kansas, and Missouri.
Schedule your inspection in seconds with our Driive booking tool, or share a few details and a local specialist will follow up within one business day.
Practical articles from the Epp team on foundation health, waterproofing, and home preservation.
 Basement WaterproofingLatest
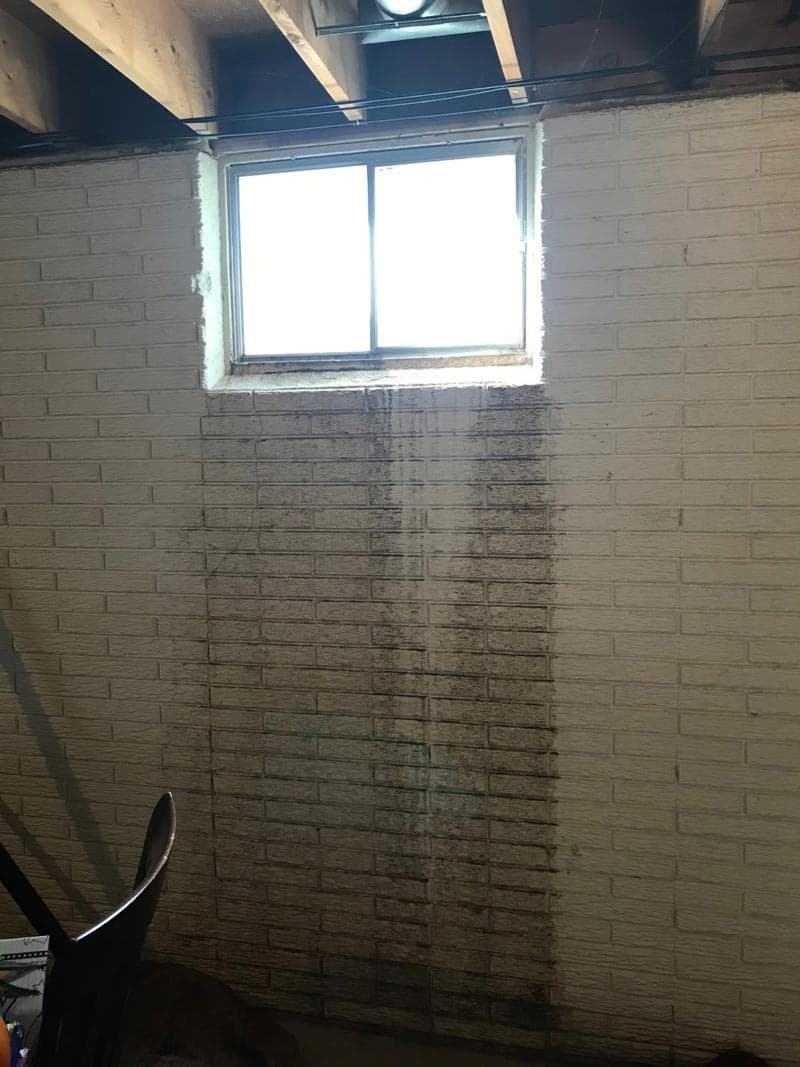
Waterproof paint and sealer can help with light dampness, but they usually cannot stop water pushed through a basement wall by wet soil outside.
 Basement Waterproofing
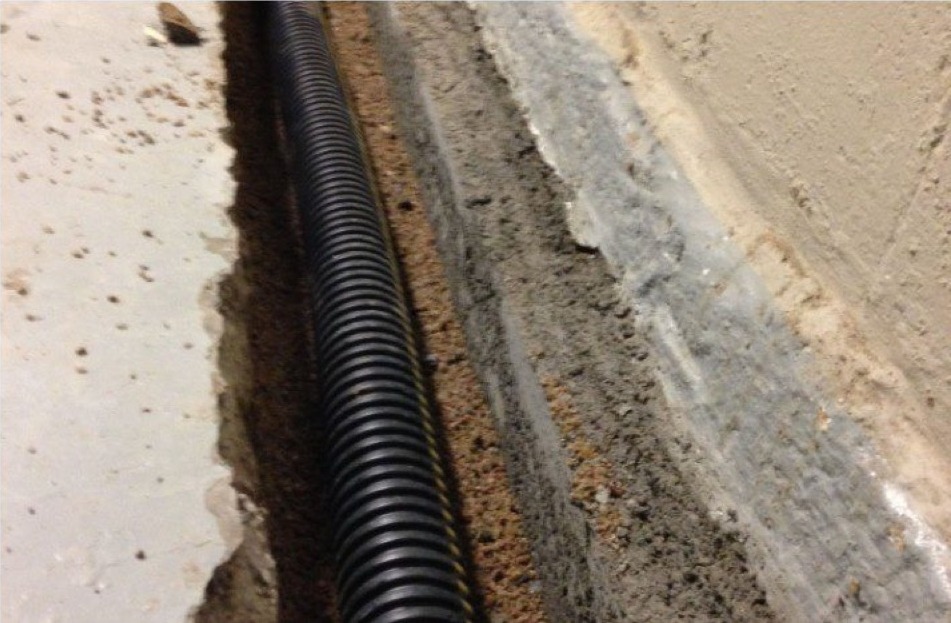
Drain tile channels water away from your foundation to keep the surrounding soil dry, which helps prevent many common foundation problems.
 Basement Waterproofing
Water seeping through a foundation slab escalates quickly. Learn what hydrostatic pressure is, why it happens, and how to stop it damaging your home.
 Basement Waterproofing
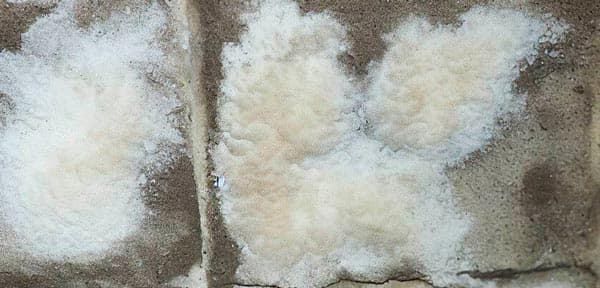
Efflorescence is a chalky white residue left by evaporating water. It signals moisture intrusion that can lead to bigger problems if ignored.
